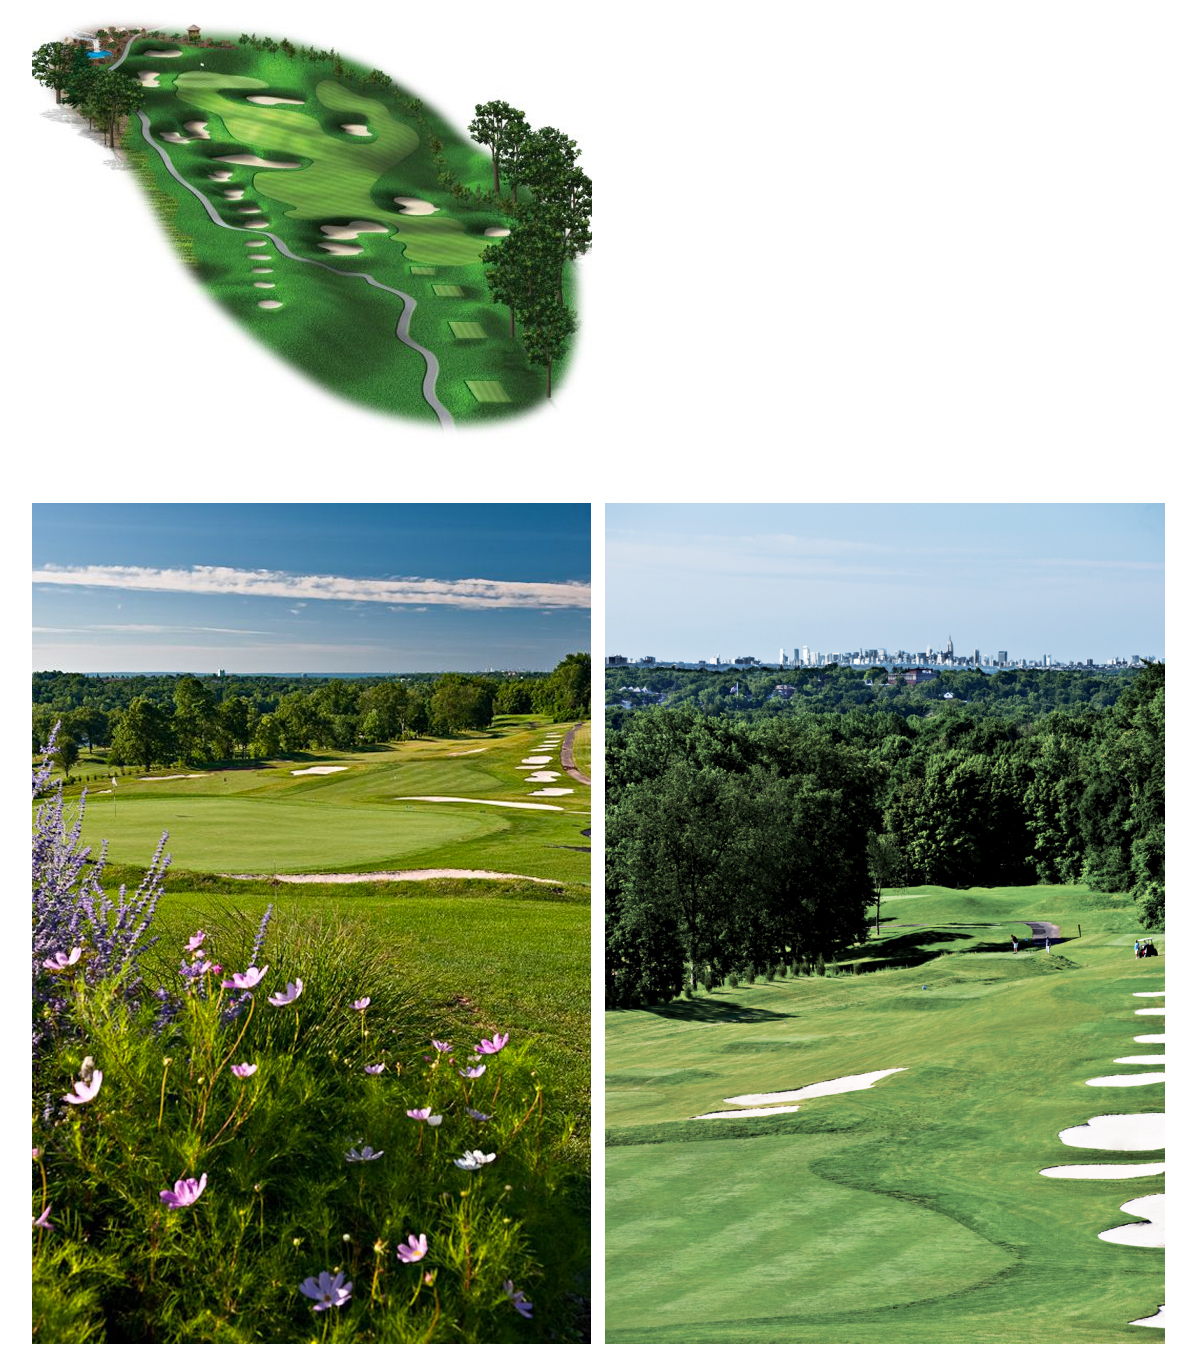
Course Layouts

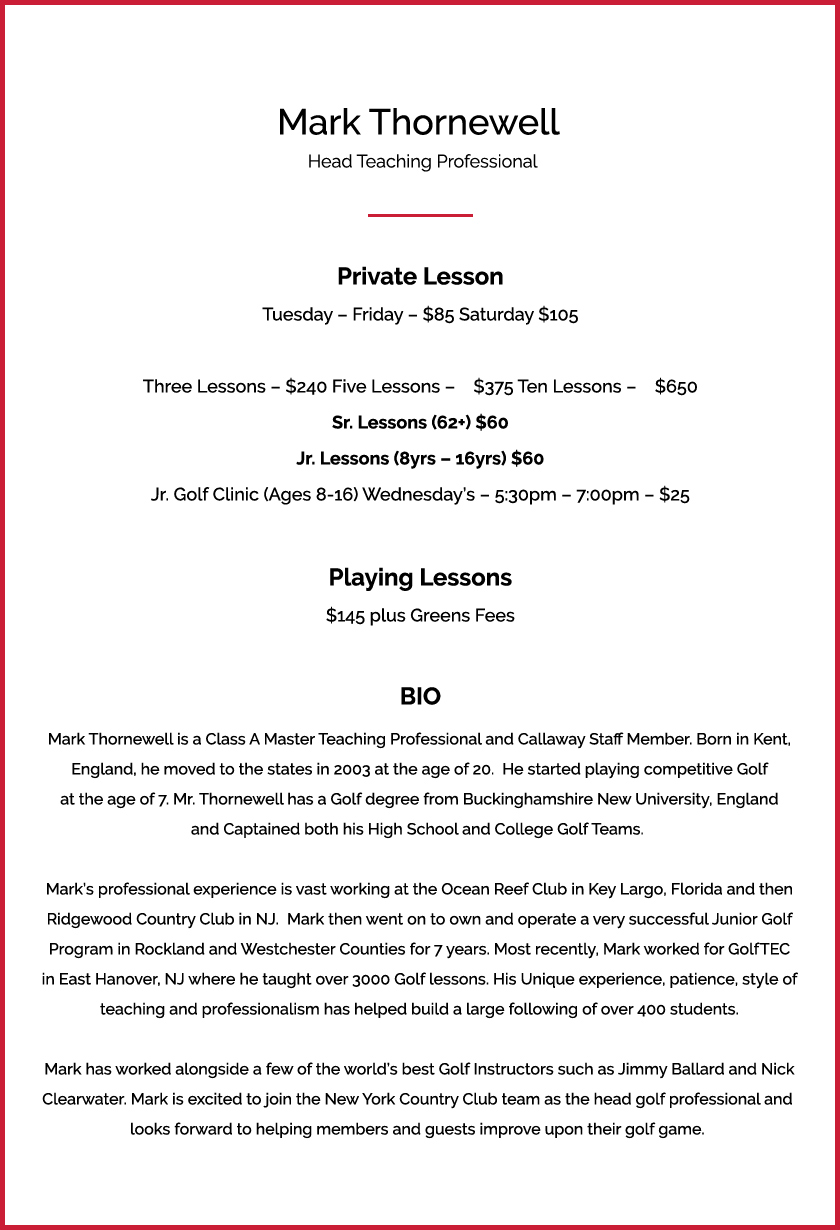
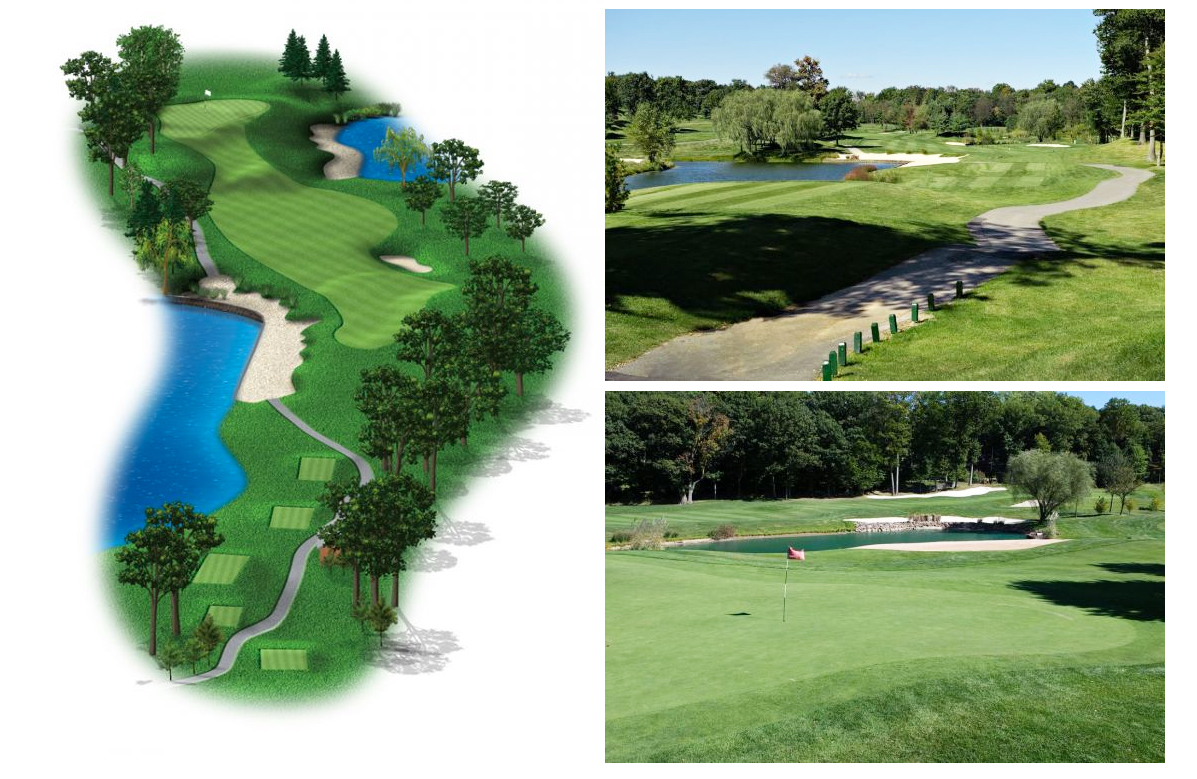
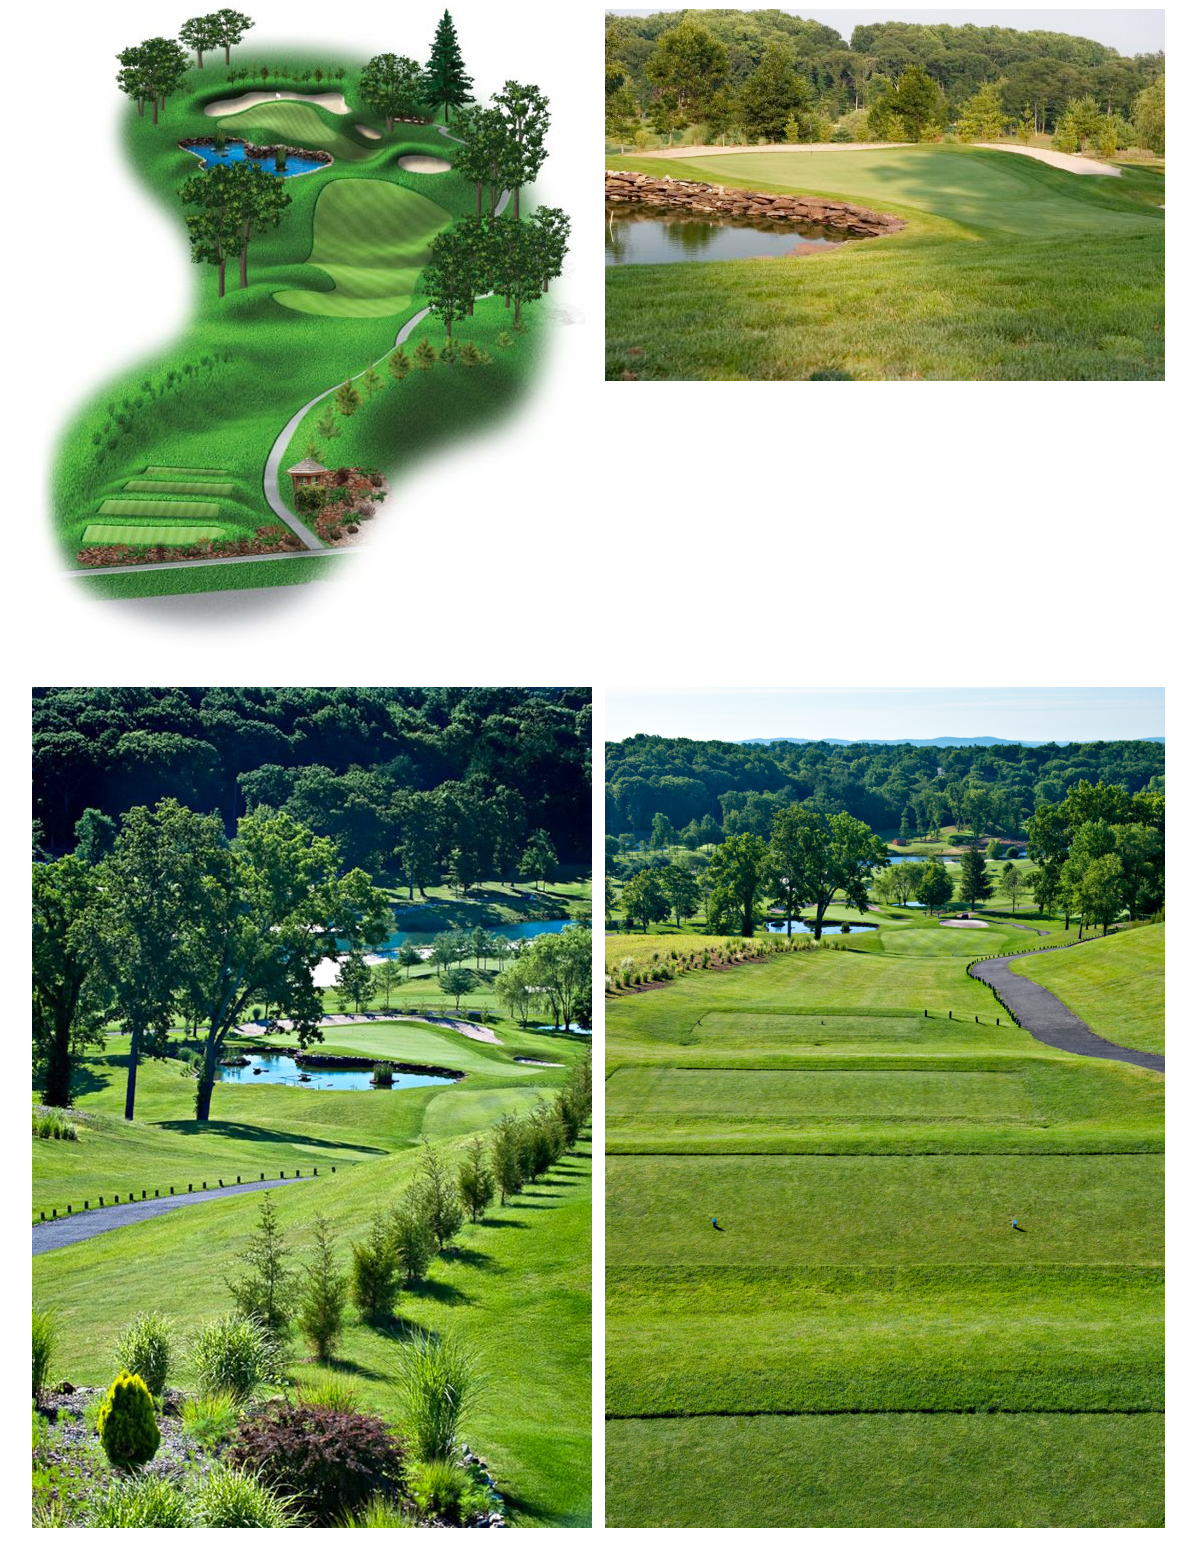
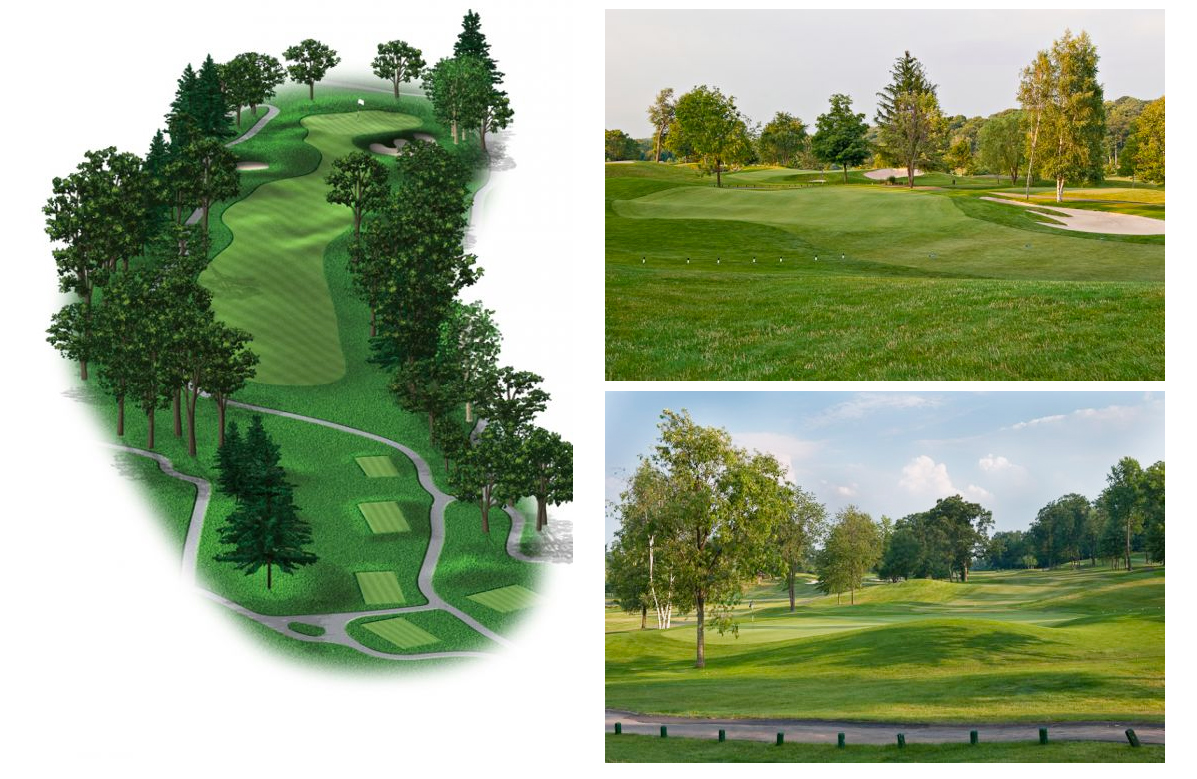
Hole 01 (Par 5)
- / Blue 540 yards
- / White 523 yards
- / Red 502 yards
- / Handicap 2

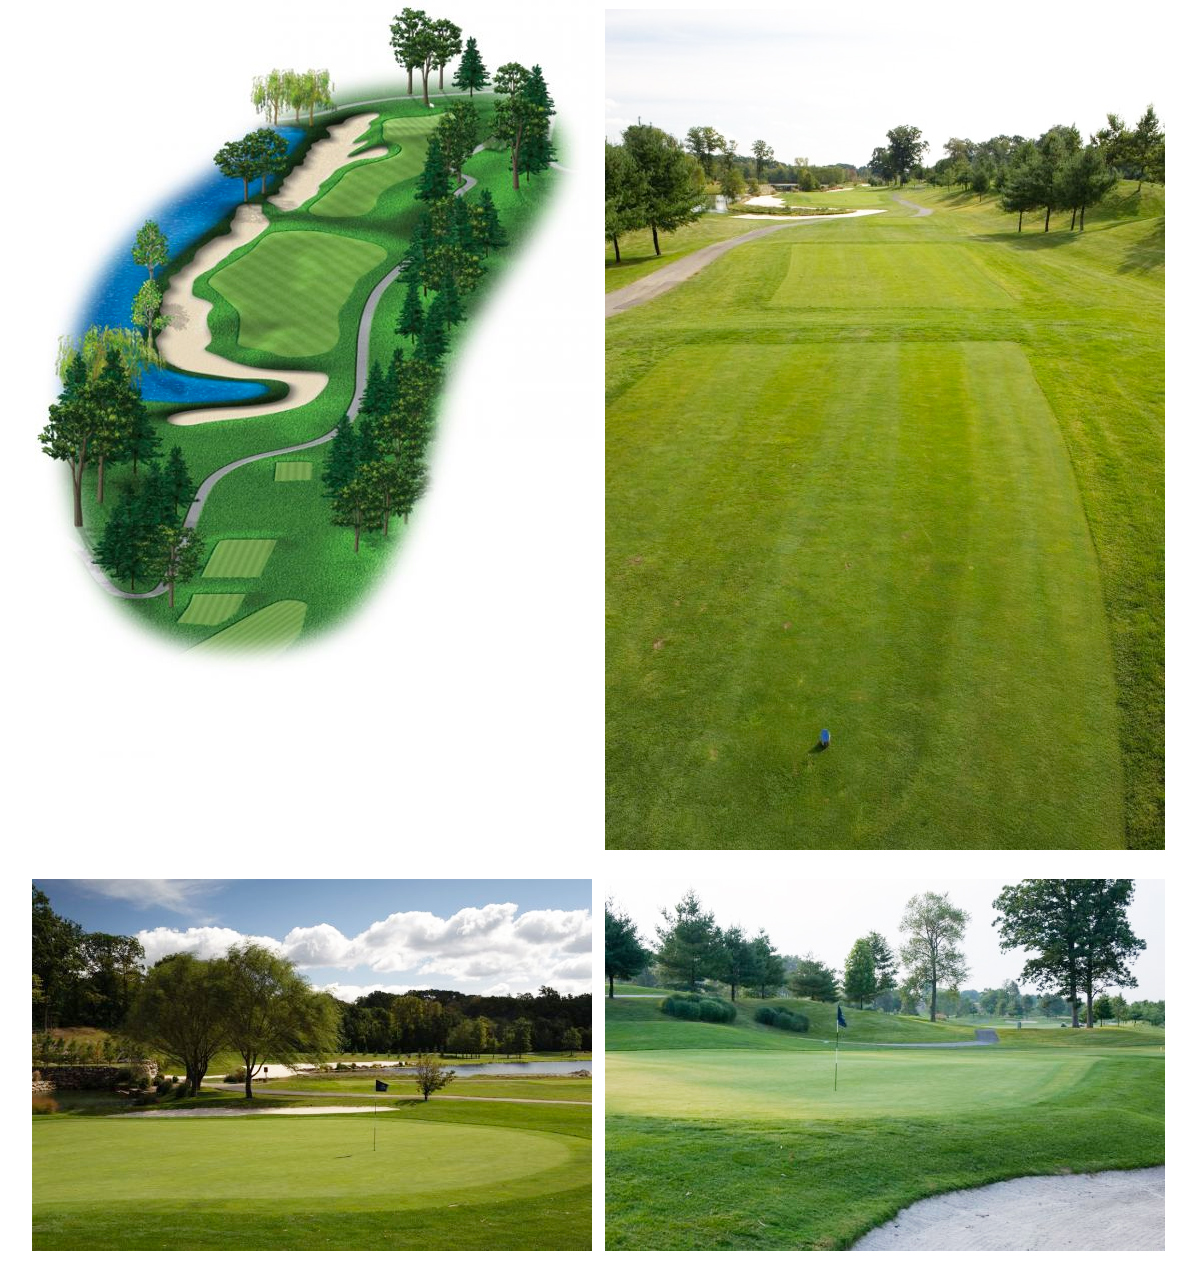
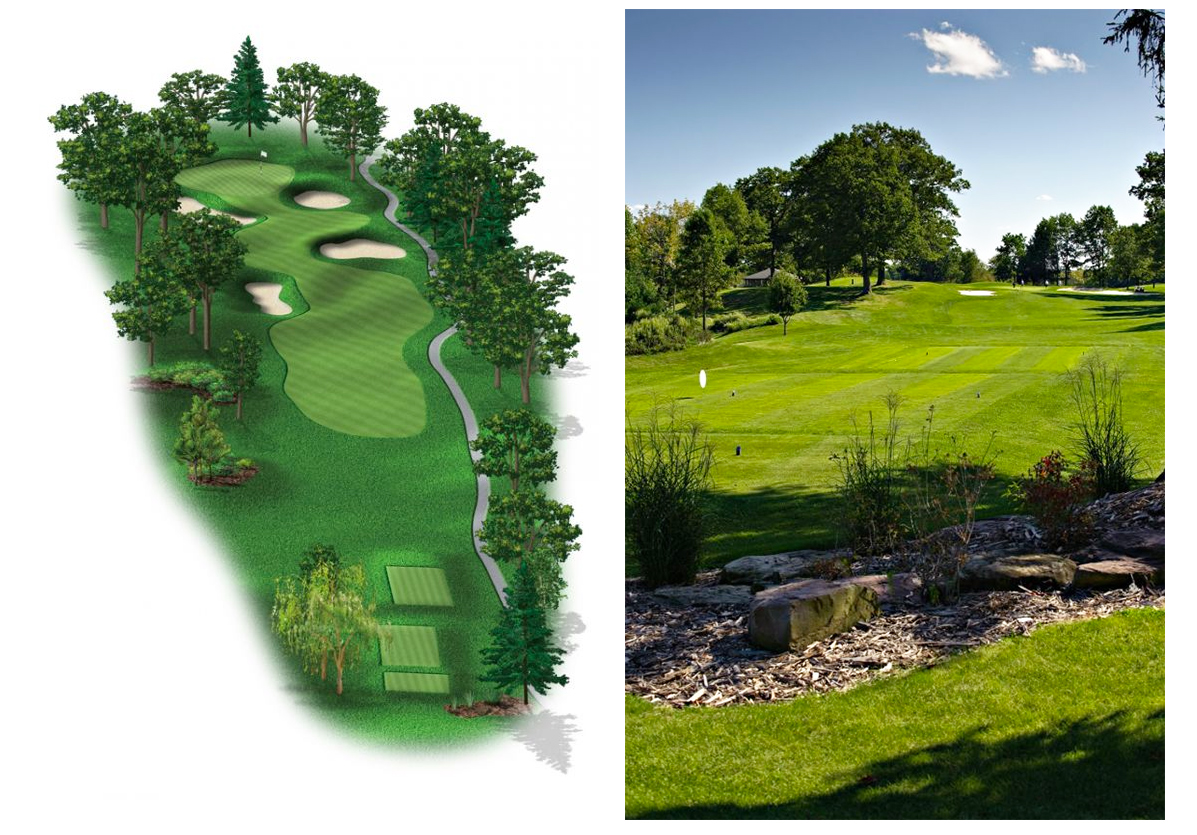
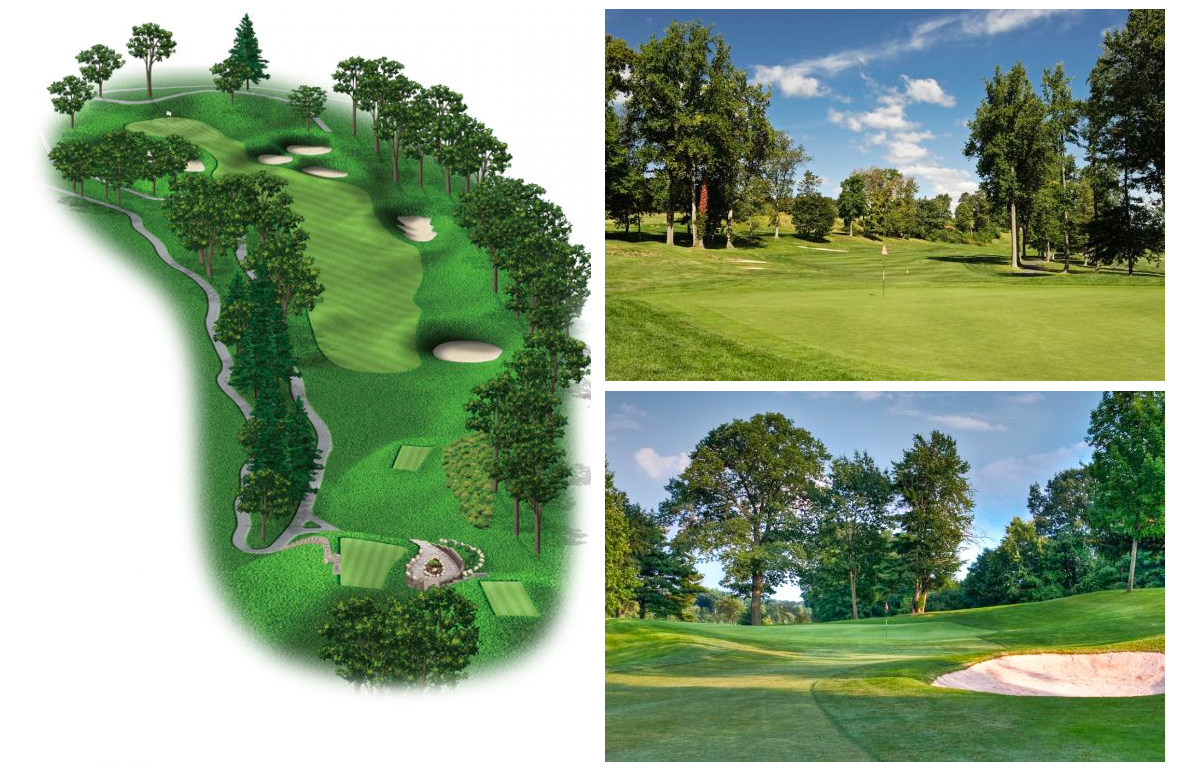
Hole 02 (Par 4)
- / Blue 393 yards
- / White 379 yards
- / Red 356 yards
- / Handicap 2
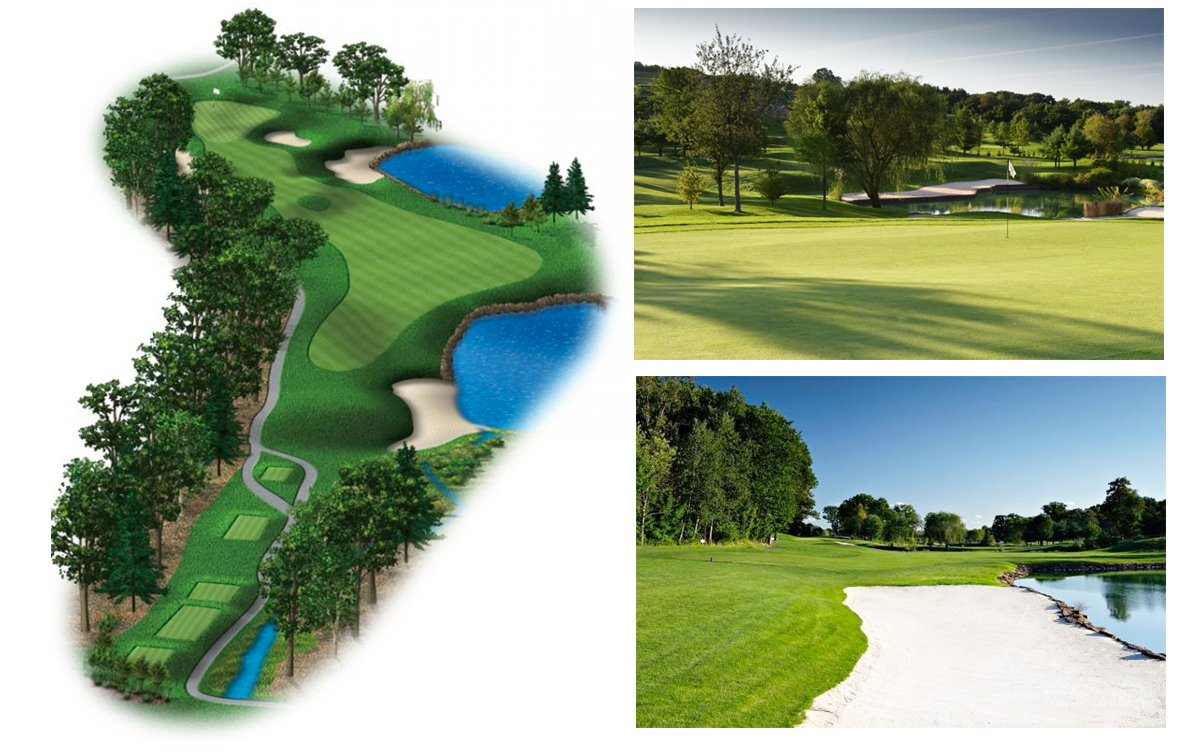
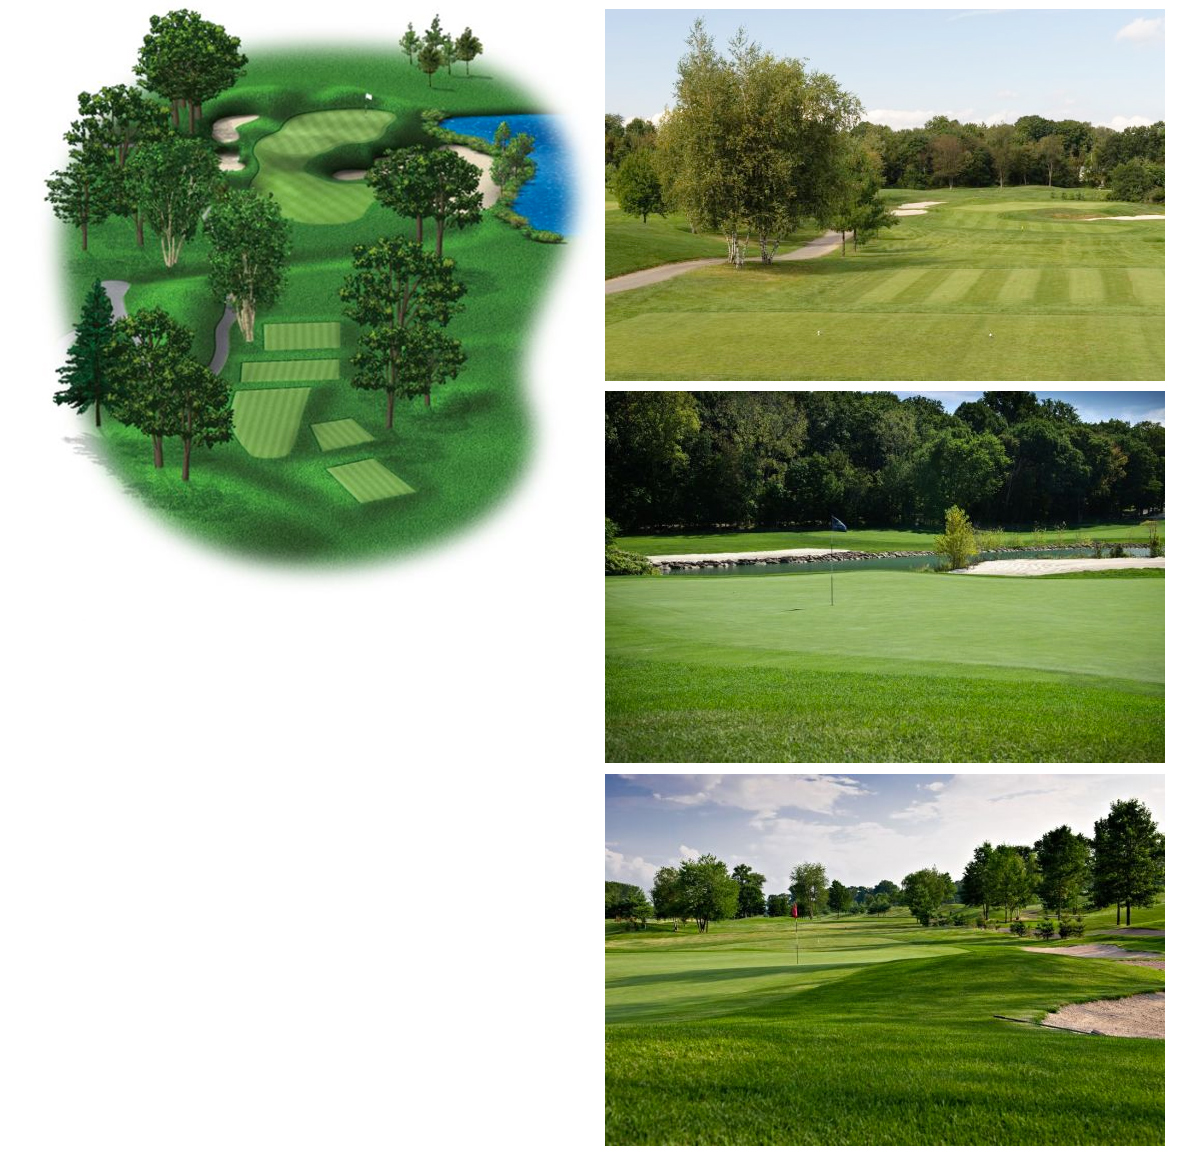
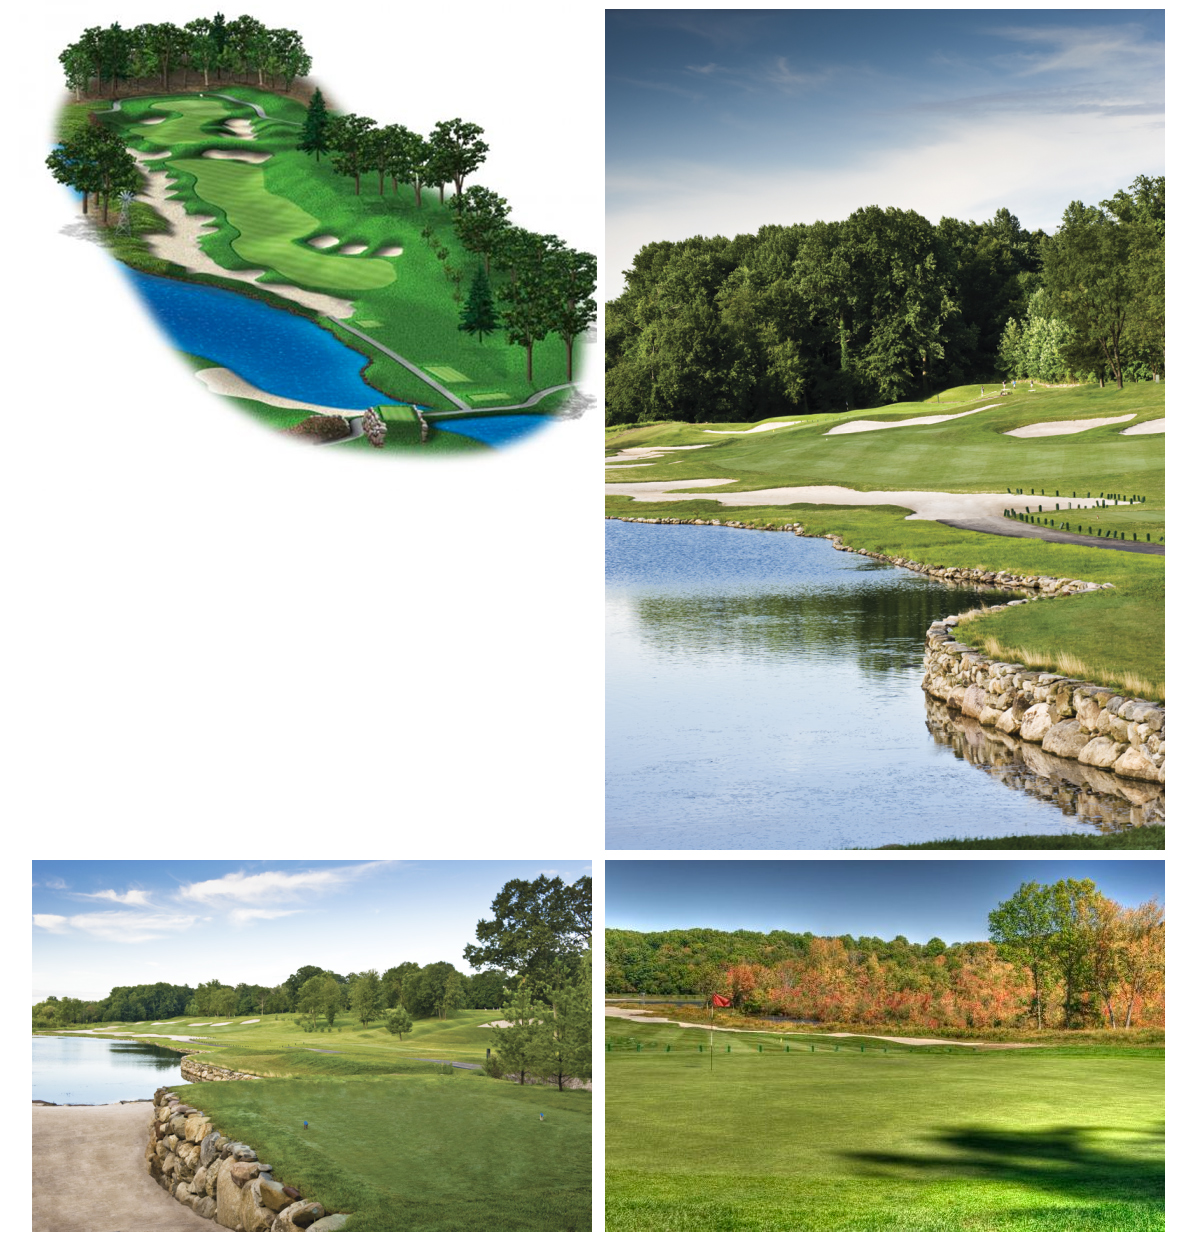
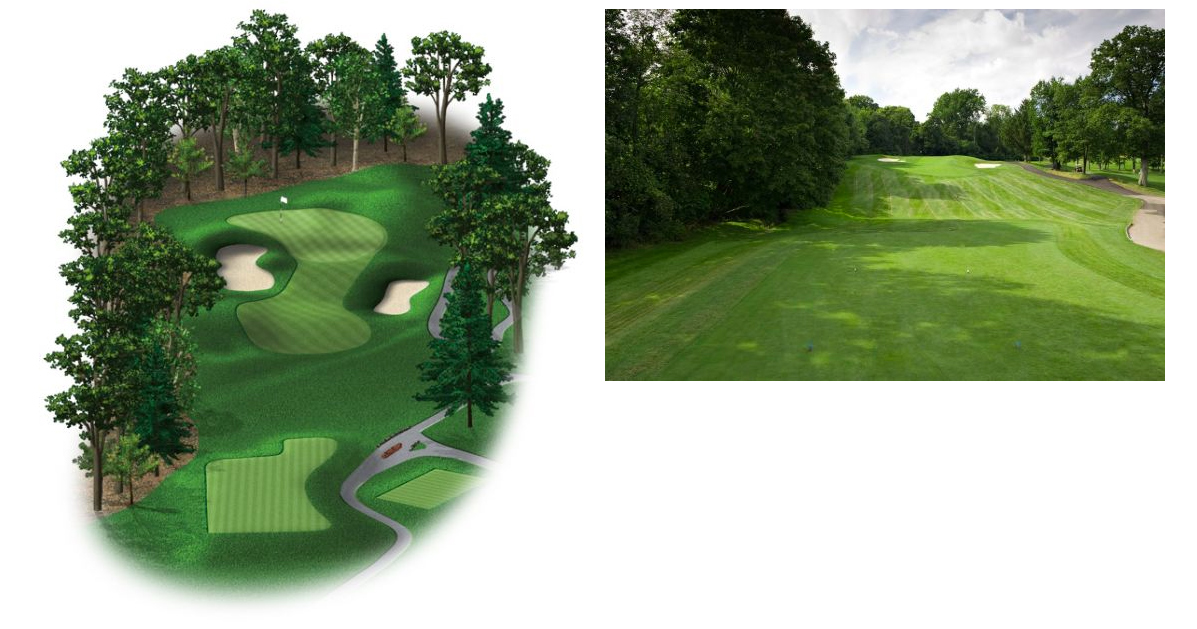
Hole 03 (Par 3)
- / Blue 159 yards
- / White 133 yards
- / Red 127 yards
- / Handicap 18
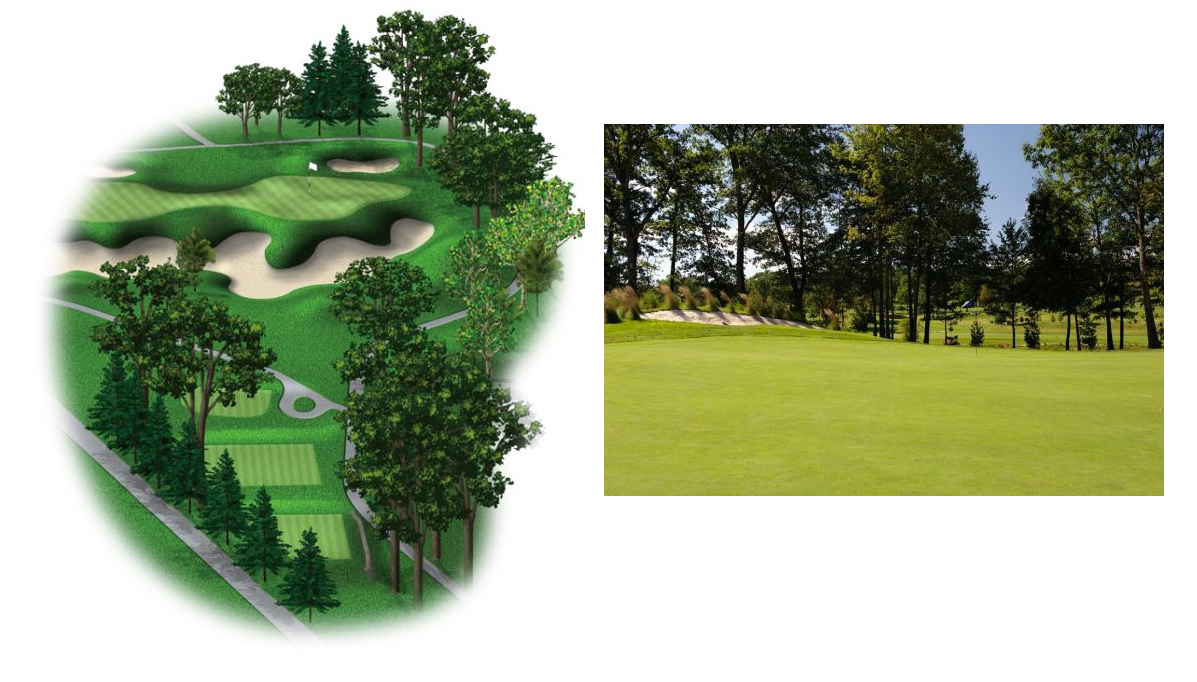
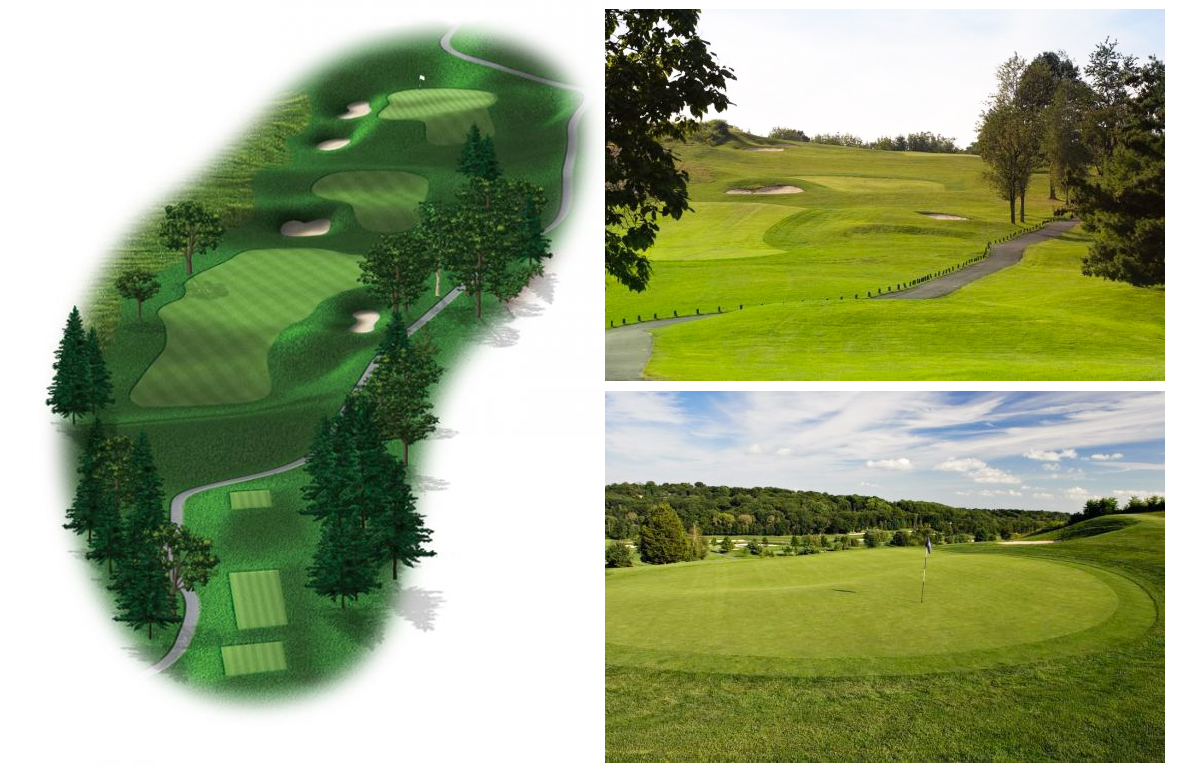
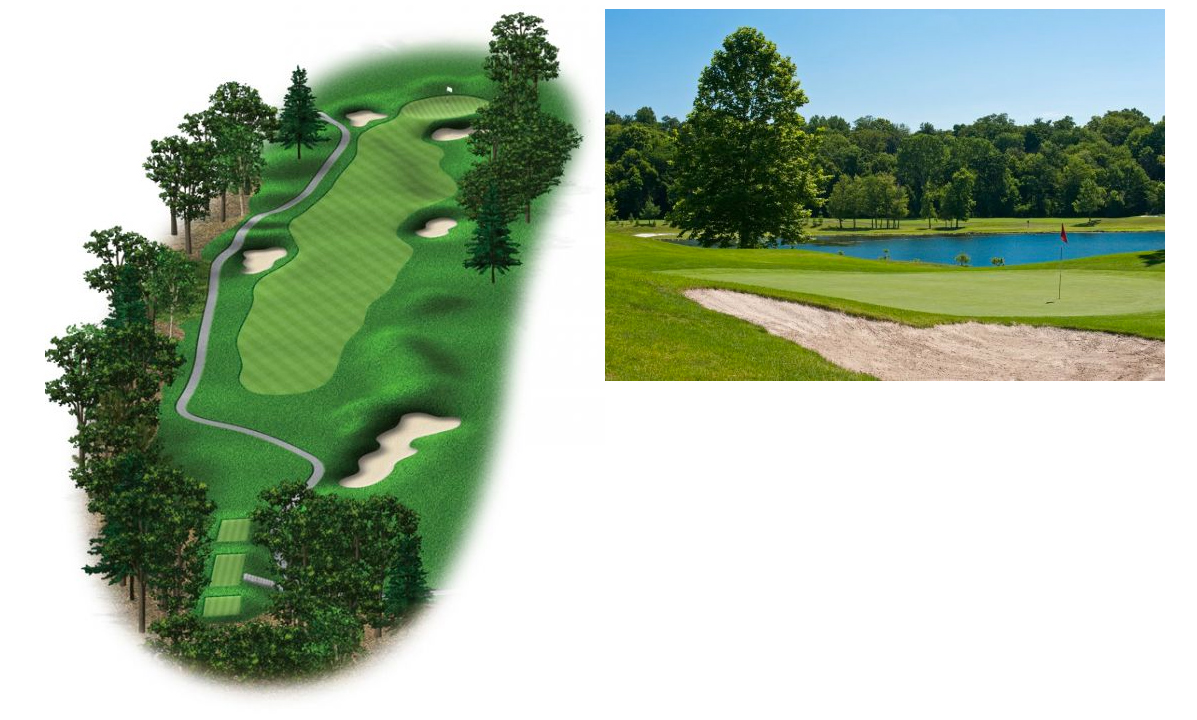
Hole 04 (Par 4)
- / Blue 428 yards
- / White 402 yards
- / Red 388 yards
- / Handicap 8
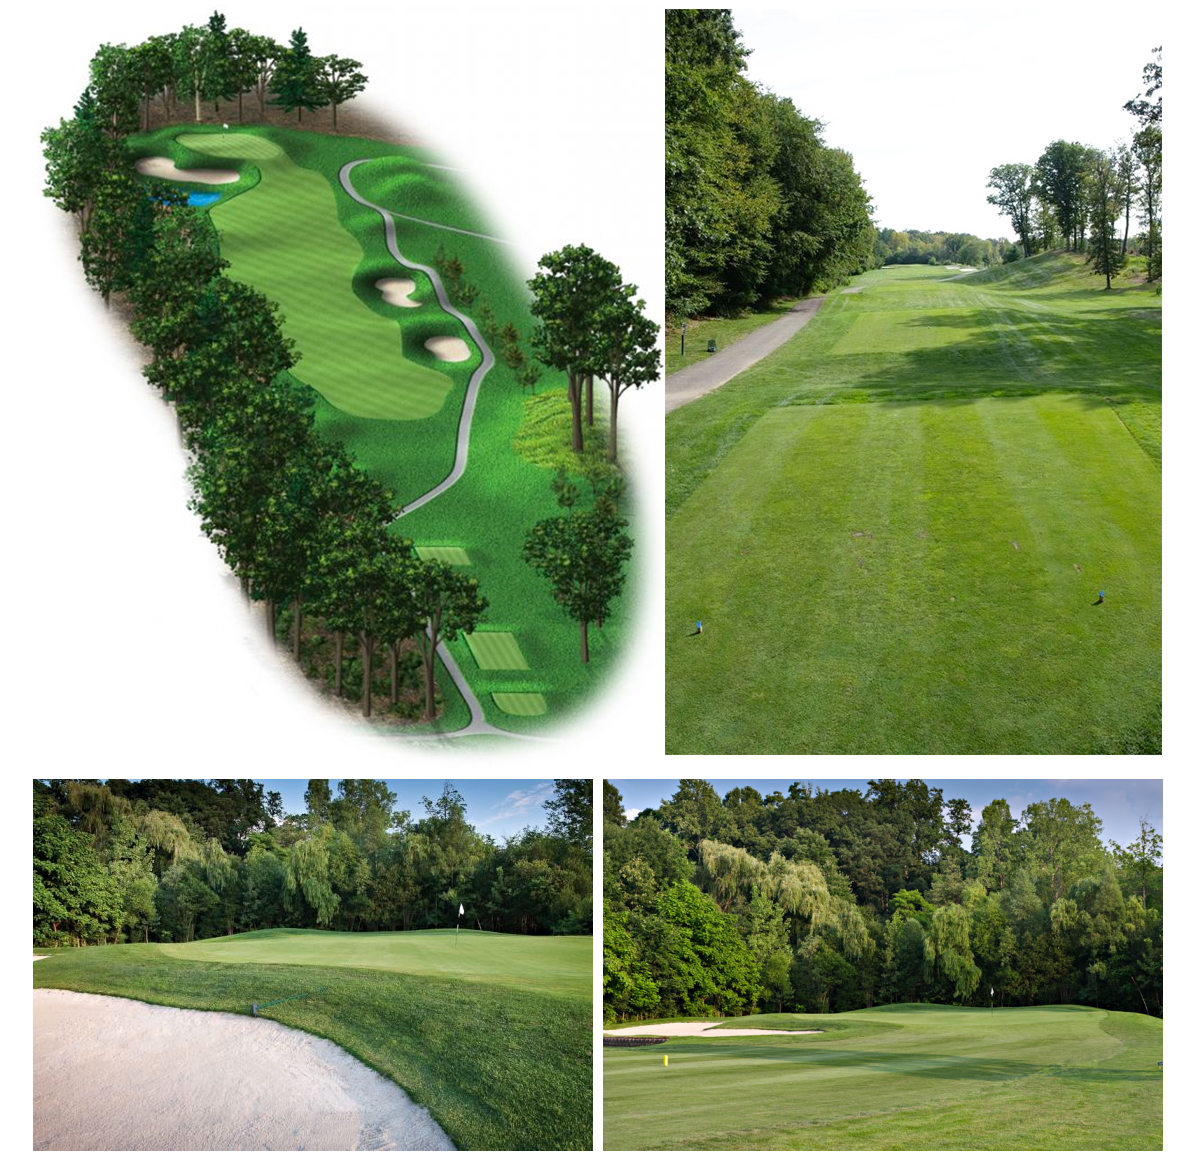
Hole 05 (Par 4)
- / Blue 401 yards
- / White 385 yards
- / Red 344 yards
- / Handicap 10
Hole 06 (Par 4)
- / Blue 390 yards
- / White 365 yards
- / Red 350 yards
- / Handicap 12
Hole 07 (Par 5)
- / Blue 549 yards
- / White 530 yards
- / Red 517 yards
- / Handicap 4

Hole 08 (Par 3)
- / Blue 204 yards
- / White 189 yards
- / Red 158 yards
- / Handicap 14
Hole 09 (Par 4)
- / Blue 355 yards
- / White 337 yards
- / Red 314 yards
- / Handicap 6
Hole 10 (Par 4)
- / Blue 318 yards
- / White 308 yards
- / Red 297 yards
- / Handicap 17
Hole 11 (Par 4)
- / Blue 335 yards
- / White 323 yards
- / Red 312 yards
- / Handicap 11
Hole 12 (Par 3)
- / Blue 143 yards
- / White 137 yards
- / Red 122 yards
- / Handicap 15

Hole 13 (Par 5)
- / Blue 575 yards
- / White 535 yards
- / Red 511 yards
- / Handicap 1
Hole 14 (Par 4)
- / Blue 406 yards
- / White 387 yards
- / Red 380 yards
- / Handicap 9
Hole 15 (Par 4)
- / Blue 397 yards
- / White 387 yards
- / Red 355 yards
- / Handicap 3
Hole 16 (Par 4)
- / Blue 389 yards
- / White 375 yards
- / Red 300 yards
- / Handicap 5
Hole 17 (Par 3)
- / Blue 159 yards
- / White 149 yards
- / Red 135 yards
- / Handicap 13
Hole 18 (Par 5)
- / Blue 502 yards
- / White 450 yards
- / Red 436 yards
- / Handicap 7